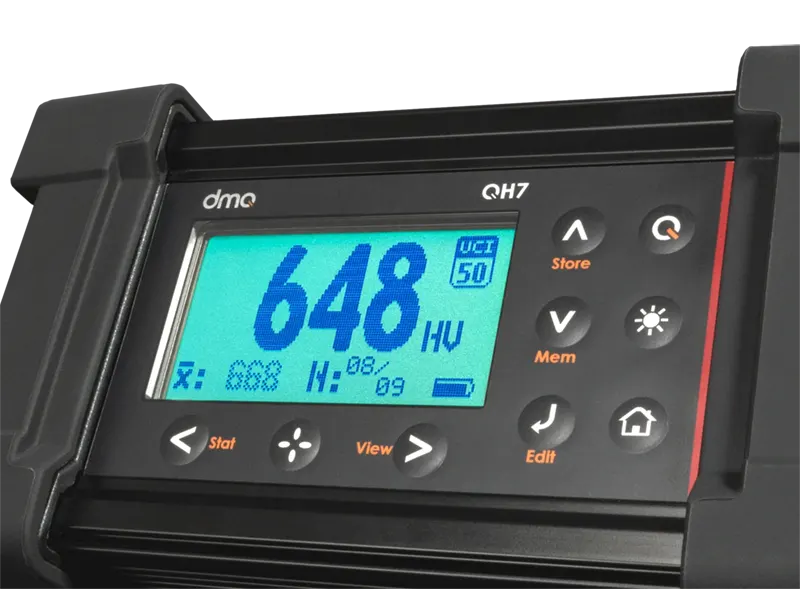
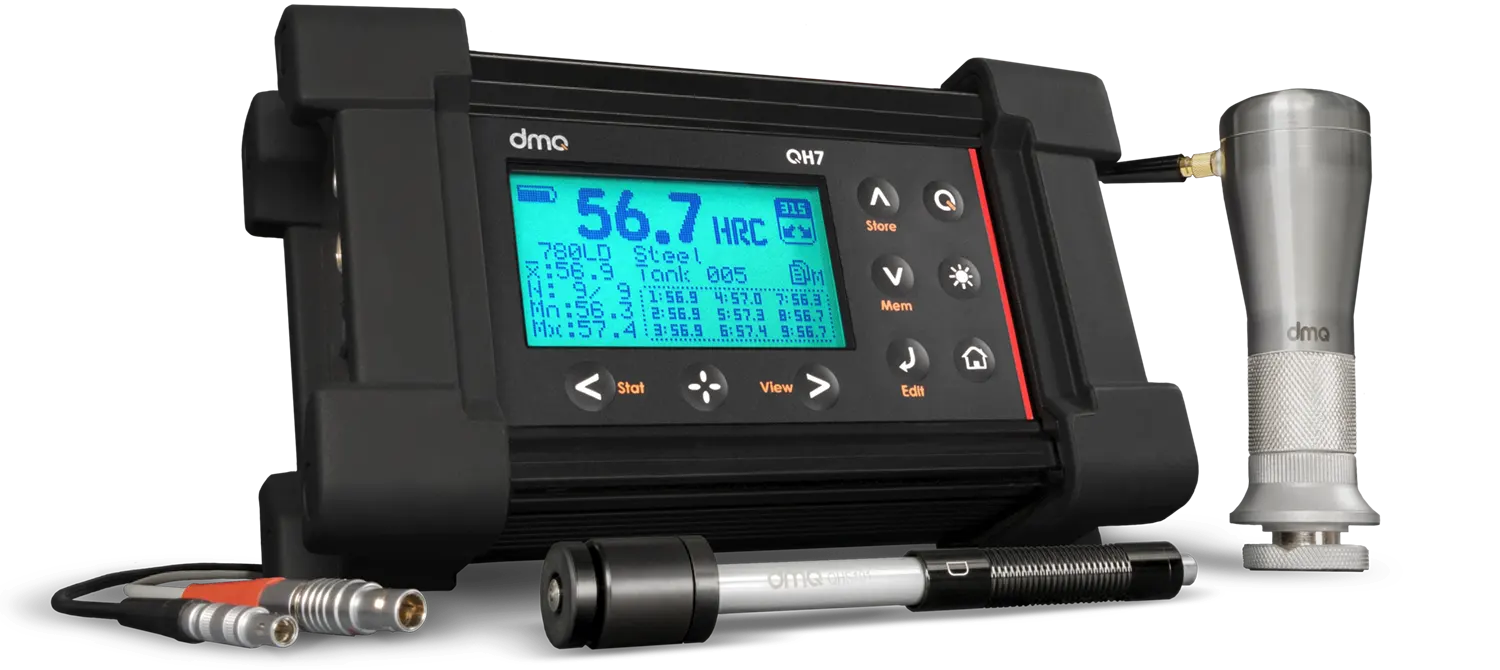
QH7 Series
Portable "Heavy-Duty" Hardness Tester
Leeb + UCI
Leeb and or UCI to control all sorts of metal parts.
Cover the widest range of applications combining Leeb and UCI methods of hardness testing. Measure small parts with UCI and get faster and accurate measures in Leeb with our GyroTag technology that automatically corrects the impact angle.
A robust design in a high resistance aluminum enclosure with a large display and the ability to support all impact device types and UCI probes makes the QH7 Series the most complete and advanced option in the dmq QH Family of portable metal hardness testers.
QH7
Outstanding features
Measure with the Leeb or rebound method 1
Measure with the UCI method 1
GyroTag: Auto impact device angle detection
Accepts all impact device types
Accepts 10, 50 and 98N UCI probes
Measures in the most popular units
Generate user materials
Sound and visual alarms for maximum and minimum
High resistance aluminum enclosure
Operates on rechargeable batteries
Memory for 32000 readings
USB and RS232 for data transfer
Real time histogram graphics
Real time complete statistics
Meets international standards
5 year limited warranty on the electronic unit
1. Depending on model. See the Models section.
Impact devices with GyroTag
We offer impact devices that are application specific and include GyroTag technology.
Impact devices with GyroTag
We offer impact devices that are application specific and include GyroTag technology.
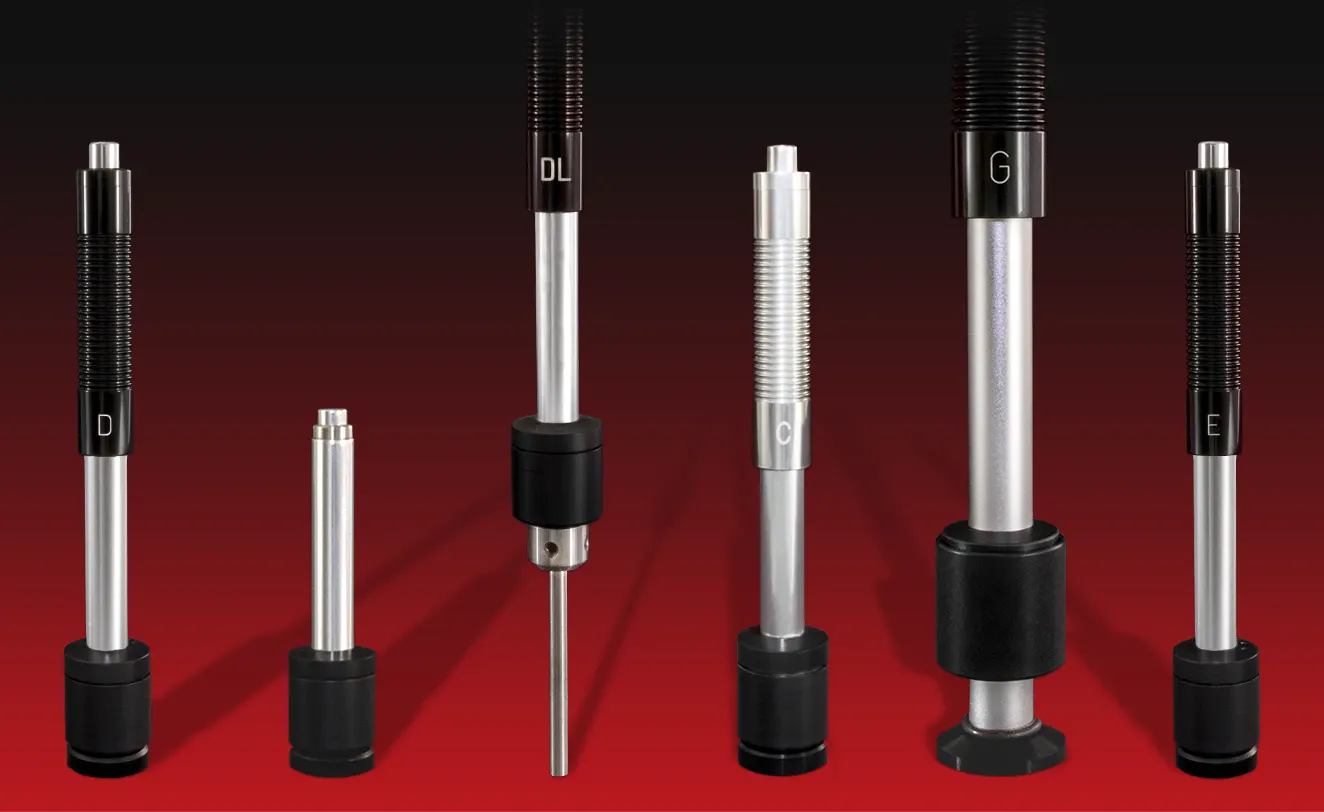
Type G impact device
A greater impact energy allows measurements on rough surfaces with little preparation. Recommended for large, founded and forged parts.
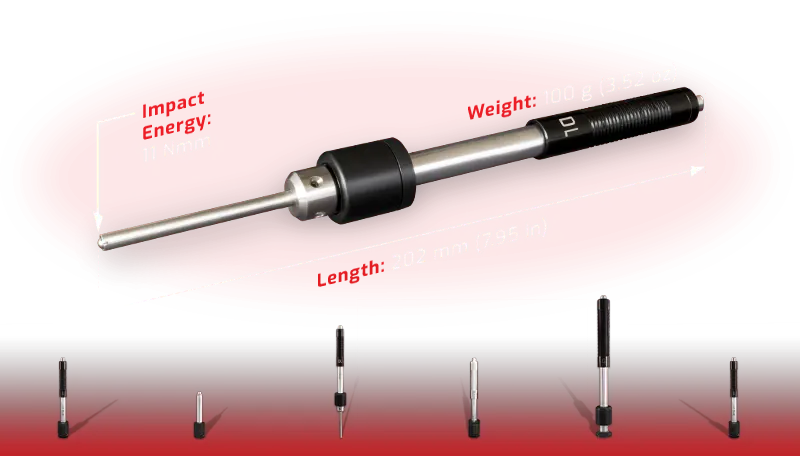
Type DL impact device
Features a 50mm long tip and 4mm diameter making it ideal to measure in hard to reach places such as grooves and gears.
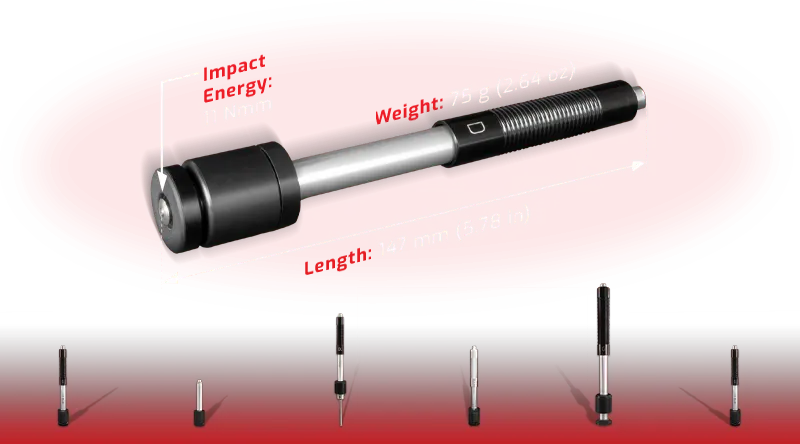
Type D impact device
General use impact device that offers the widest ranges in all hardness units and available materials.
Type D impact device comes standard with the QH7 L and QH7 C models.
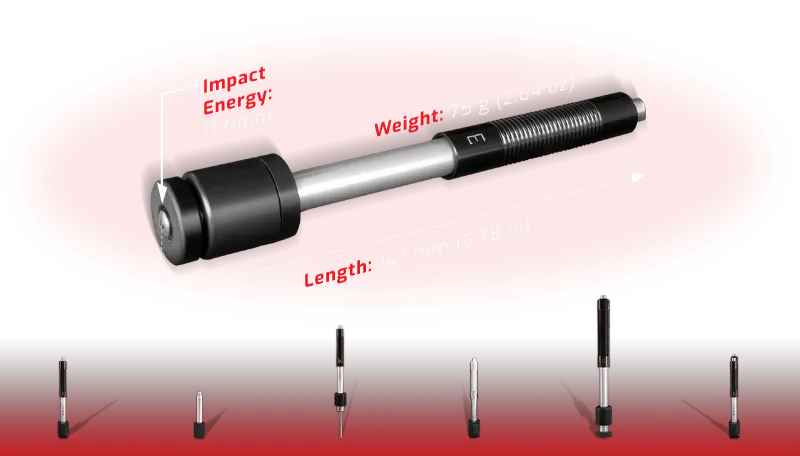
Type E impact device
Uses a synthetic diamond ball allowing high hardness measurements (up to 1200HV). This is the best option to measure hardened steel or parts with similar treatments.
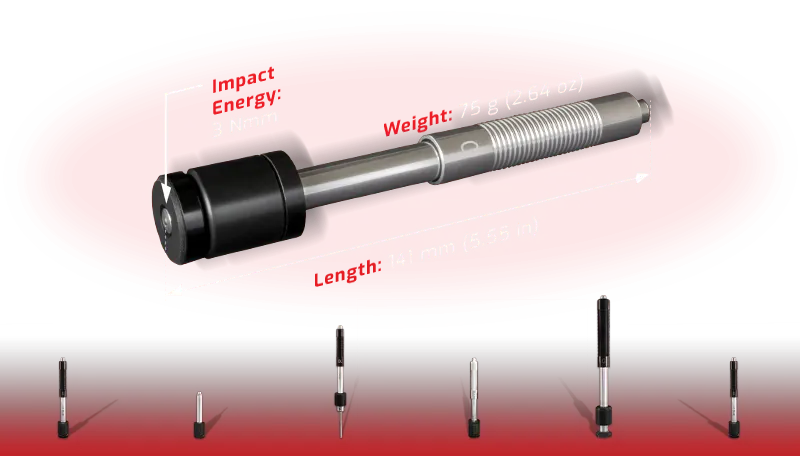
Type C impact device
A low impact energy that also produces a smaller indentation makes this impact device ideal for superficial heat treatment and small part measurements.
Type DC impact device
Type D impact device with a short body that is ideal for measurements in reduced spaces.

Type D
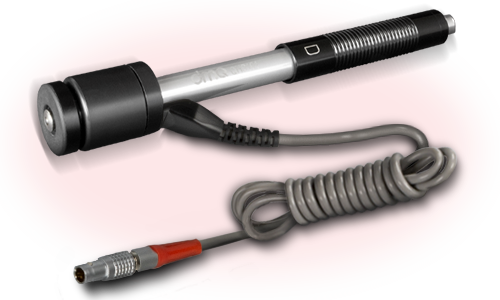
impact device
General use impact device that offers the widest ranges in all hardness units and available materials.
Type D impact device comes standard with the QH7 L and QH7 C models.
Impact energy: 11Nmm
Length: 147mm / 5.78in
Weight: 75g / 2.64oz
Type DC
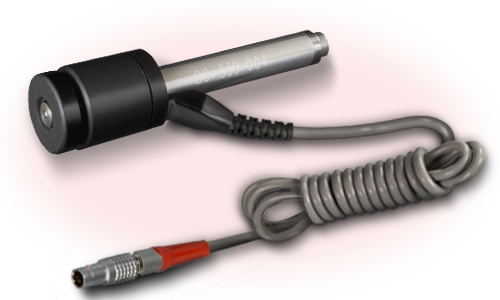
impact device
Type D impact device with a short body that is ideal for measurements in reduced spaces.
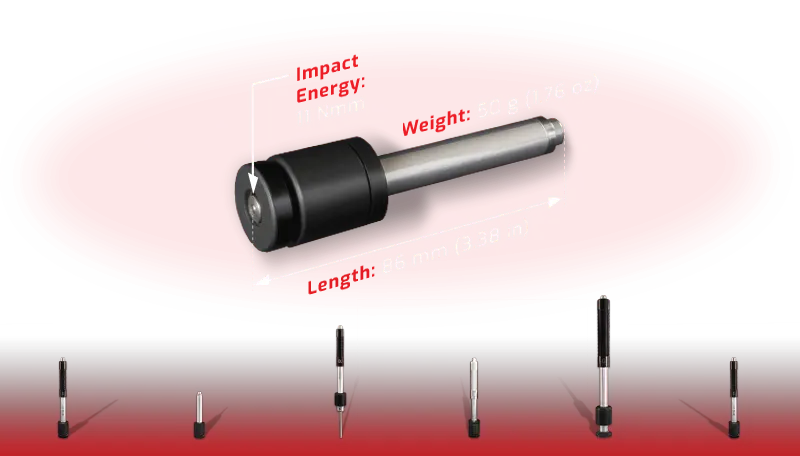
Impact energy: 11Nmm
Length: 86mm / 3.38in
Weight: 50g / 1.76oz
Type DL
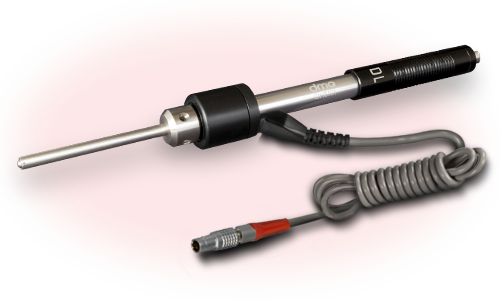
impact device
Features a 50mm long tip and 4mm diameter making it ideal to measure in hard to reach places such as grooves and gears.
Impact energy: 11Nmm
Length: 20 2mm / 7.95in
Weight: 100g / 3.52oz
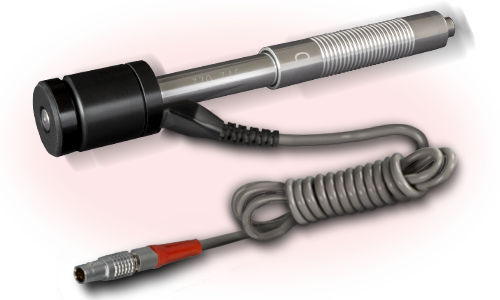
Type C
impact device
A low impact energy that also produces a smaller indentation makes this impact device ideal for superficial heat treatment and small part measurements.
Impact energy: 3Nmm
Length: 141mm / 5.55in
Weight: 75g / 2.64oz
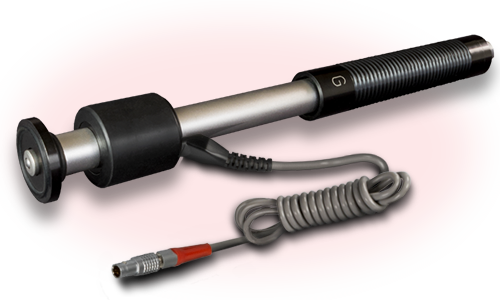
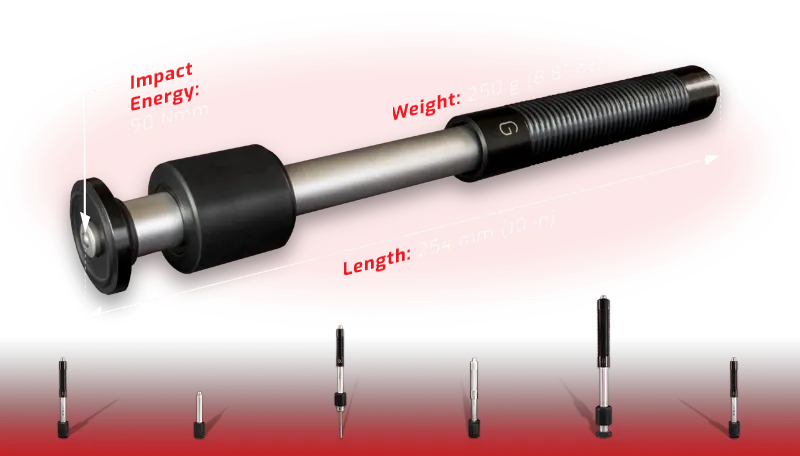
Type G
impact device
A greater impact energy allows measurements on rough surfaces with little preparation. Recommended for large, founded and forged parts.
Impact energy: 90Nmm
Length: 254mm / 10in
Weight: 250g / 8.81oz
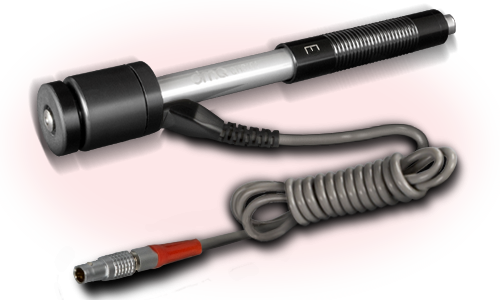
Type E
impact device
Uses a synthetic diamond ball allowing high hardness measurements (up to 1200 HV). This is the best option to measure hardened steel or parts with similar treatments.
Impact energy: 11Nmm
Length: 155mm / 6.10in
Weight: 80g / 2.82oz
GyroTag Technology
Exclusive in the 7 Series
GyroTag technology combines automatic impact device angle detection and correction. Both will make your job easier and faster with guaranteed accuracy in your measurements, even when changing impact devices.
UCI Probes
UCI probes are ideal for hardness measurements of small and thin parts and of superficial hardness. They are available in three test loads and choosing the right load depends on the surface finish (roughness) of the test piece that you need to control.
Also included with all UCI probes is CalTag technology which is intregrated calibration for guranteed accuracy
Select a UCI probe to view additional information.
10N UCI Probe
Ideal to measure superficial hardness, polished surfaces and small parts with a good finish.
Superficial roughness:
Maximum roughness is Ra 5µm according to ASTM 1038 standard
50N UCI probe
Measure induction or cemented treated parts such as crankshafts, gears, welds and heat affected zones.
Superficial roughness:
Maximum roughness is Ra 10µm according to ASTM 1038 standard
98N UCI probe
Recommended for use in founded parts, weld seams and heat affected zones even in unmachined surfaces.
Superficial roughness:
Maximum roughness is Ra 15µm according to ASTM 1038
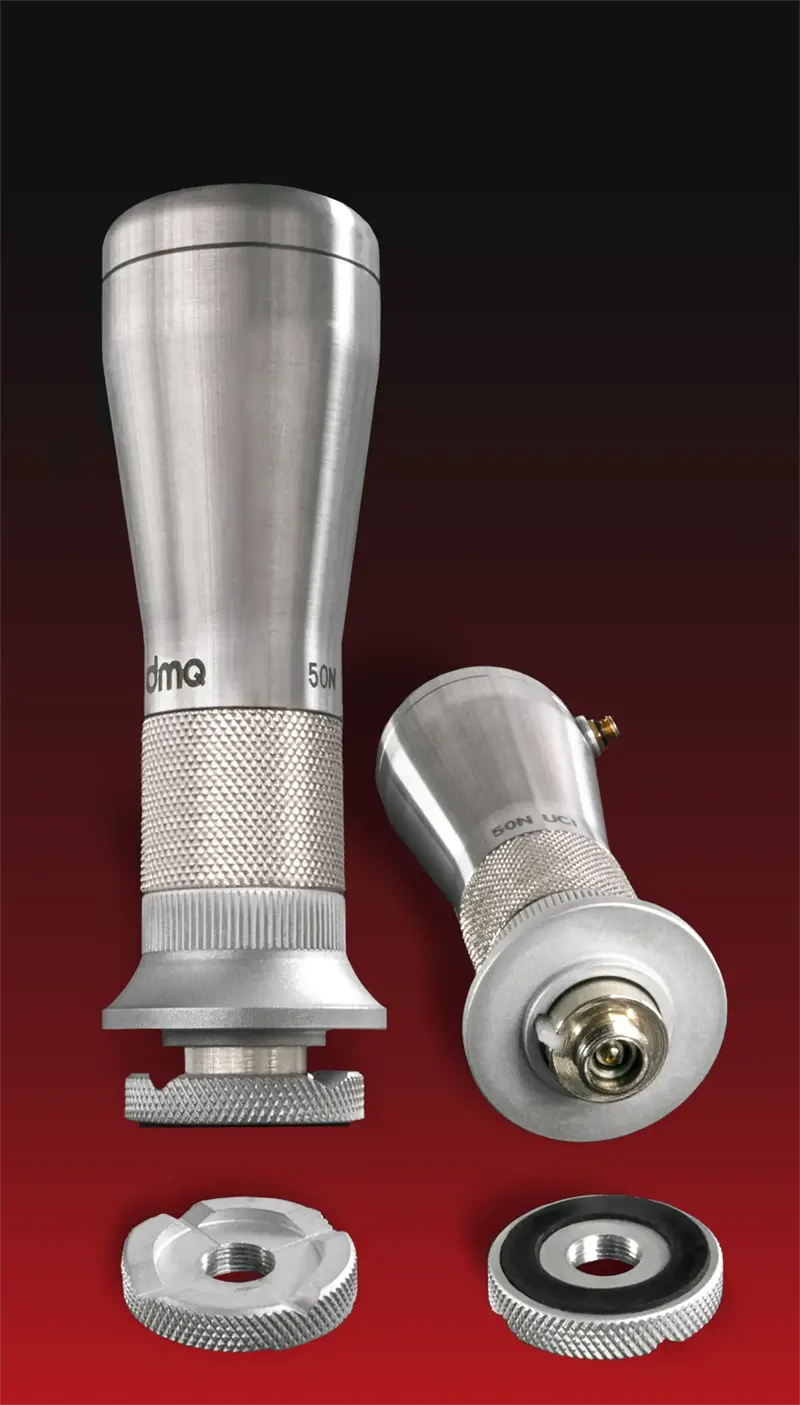

10N UCI Probe
Ideal to measure superficial hardness, polished surfaces and small parts with a good finish.
Superficial roughness: Maximum roughness is Ra 5µm according to ASTM 1038 standard

50N UCI probe
Measure induction or cemented treated parts such as crankshafts, gears, welds and heat affected zones.
Superficial roughness: Maximum roughness is Ra 10µm according to ASTM 1038 standard
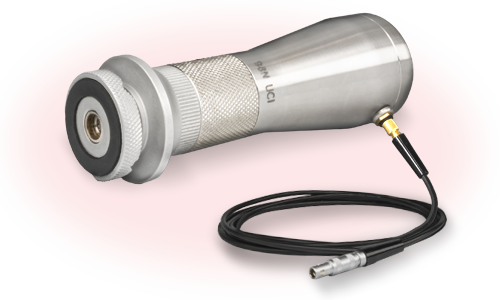
98N UCI probe
Recommended for use in founded parts, weld seams and heat affected zones even in unmachined surfaces.
Superficial roughness: Maximum roughness is Ra 15µm according to ASTM 1038 standard
Applications
Ideal for measurement and control of:
Slide the table horizontally to fully display its content.
|
QH7 L |
QH7 U |
QH7 C |
|
|---|---|---|---|
| Massive parts | |||
| Founded, forged or rough finished parts | |||
| Steel and aluminum alloys | |||
| HAZ (Heat Affected Zones) or TAZ (Thermally Affected Zones) in welds | |||
| Metal plates and sheet metal coils | |||
| Irregular surfaces | |||
| Thin parts | |||
| Heat treated or superficial treatments |
Not recommended
Depends on the part
Adequate use
Models
|
Models |
Leeb (Rebound) Leeb |
UCI (Ultrasonic Contact Impedance) UCI |
|---|---|---|
| QH7 L | ||
| QH7 U | ||
| QH7 C |
NOTE: Rebound models are delivered with a type D impact device.
Ask for other impact devices.
Compatible with DataCenter
All models allow you to connect to a PC where data can be processed using our dmq DataCenter software available at no cost.
See DataCenterModel upgrades
Have your needs changed after you purchased the instrument?
You can upgrade the model of your instrument to add the features that you need with our model upgrade licenses.
Request model upgradeQH7 Series general specifications
Dimensions
197 x 111 x 65mm
(7.7 x 4.4 x 2.6in)
Weight (with batteries)
998g
(2.20lbs)
Resolution / Hardness units
Leeb (HL)
Vickers (HV)
Brinell (HB)
Rockwell B (HRB)
Rockwell C (HRC)
Shore (HS)
Mechanical strength (N/mm2)
User units 2
Materials
Steel
Grey Cast Iron
Nodular Cast Iron
Aluminum
Brass
Copper
Bronze
Power
AA x 2 de Ni-MH rechargeable by USB
Battery Life
70 Hours 3
Certificates and International Standards
Certificate of Conformity
CE Marking
ASTM A956 (LEEB)
ASTM A1038 (UCI)
ASTM E140 (UCI)
Energy absorbed on impact (Leeb)
Resolution
1HL
1HB
1HV
0.1HRC
0.1HRB
0.1HS
1N/mm2 (Mechanical Strength)
Accuracy
±4HL (0.5% at 800HL)
Measuring Range
HL 150 - 960
Ultrasonic Contact Impedance (UCI)
Resolution
1HV
0,1HRC
0,1HRB
1HB
0,1HS
1N/mm2 (Mechanical Strength)
Accuracy
±5% in the entire HV measuring range
Measuring Range
HV 100 - 950
2. User can set units for measuring materials not included in equipment list.
3. Display light off.
Ready to use
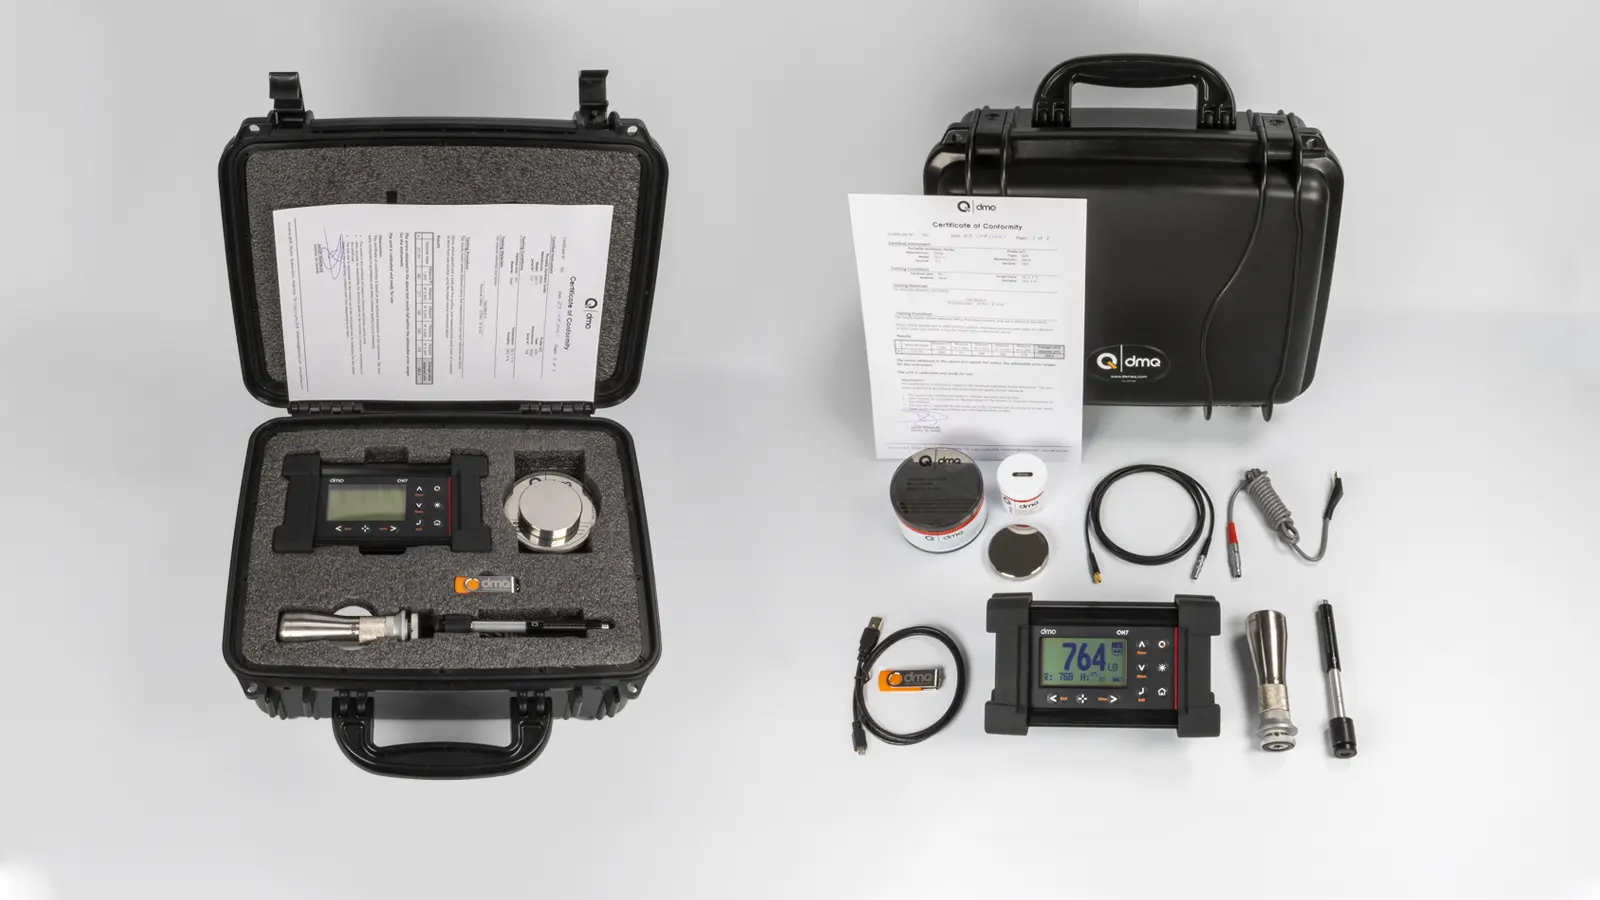
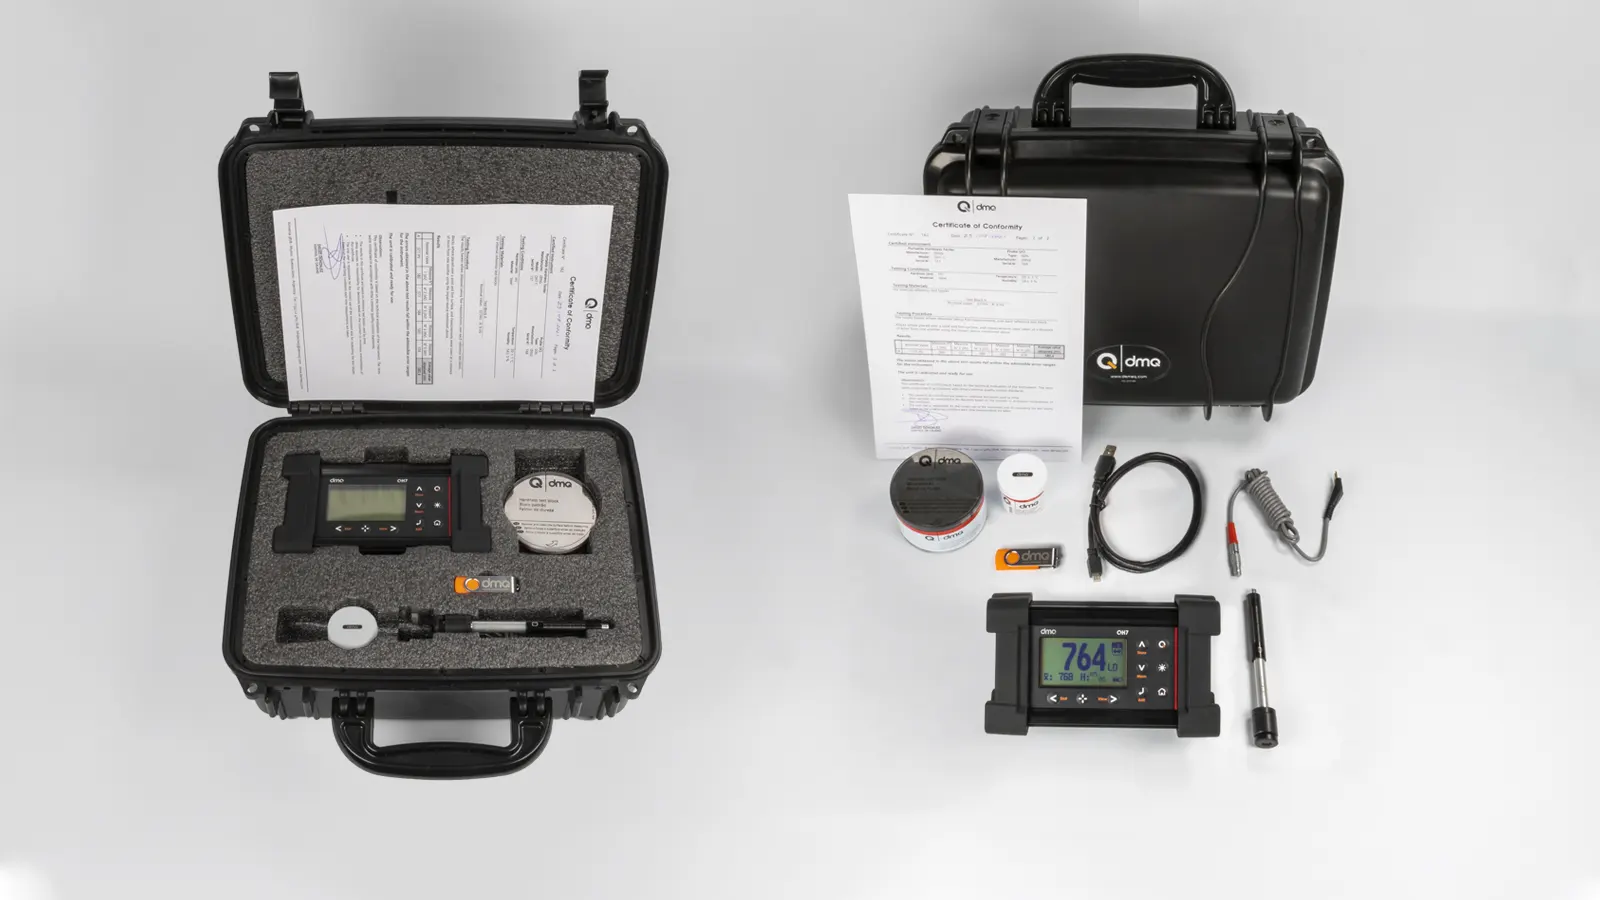
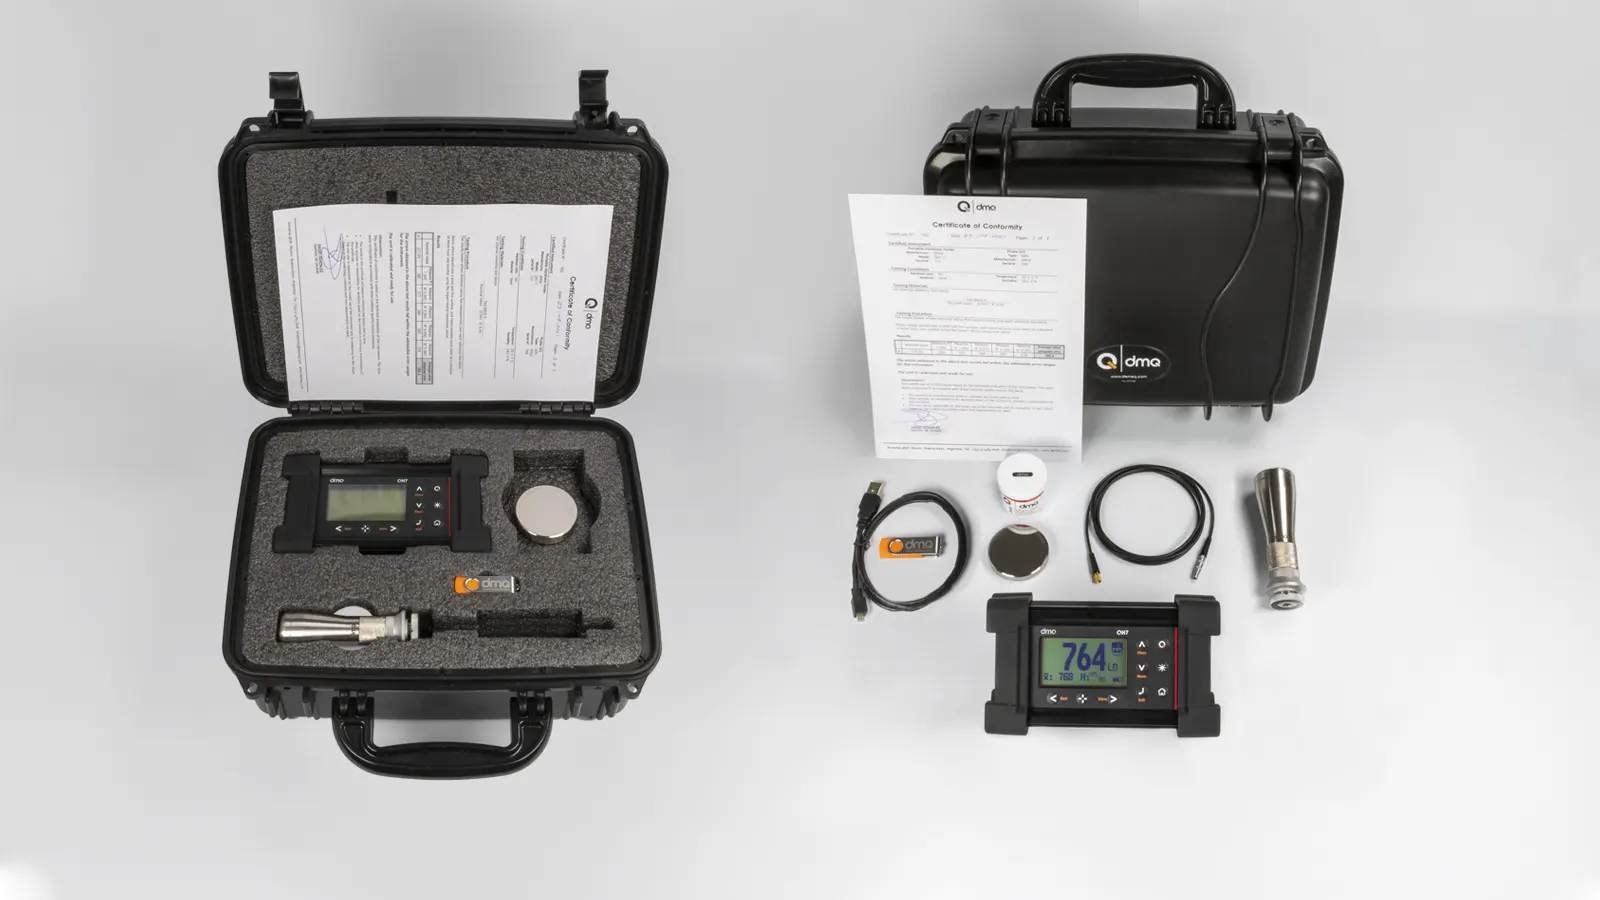
Delivered in a high impact carrying case, inside you will find:
- QH7 electronic unit
- Coupling paste for parts
- Impact device 4
- Battery charger
- UCI probe 5
- USB cable to connect to a PC
- Pendrive with dmq DataCenter software and user manual
- Reference test block 6
- Certificate of conformity
4. In QH7 L and QH7 C model / 5. In QH7 U and QH7 C models / 6. Depends on the model
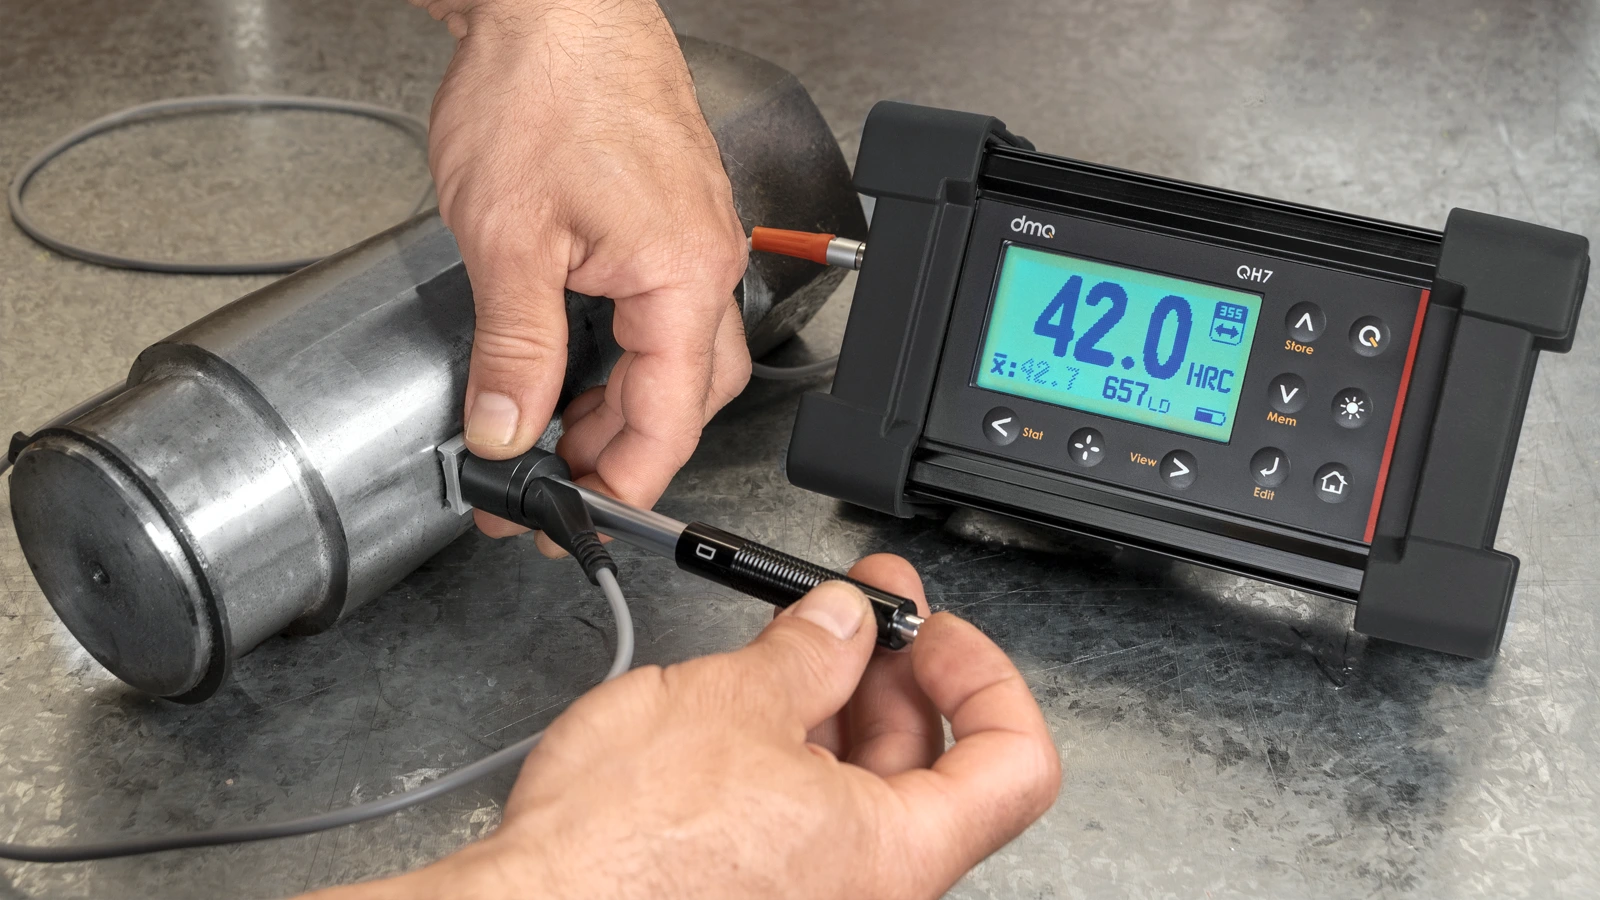
Hardness measurements with the LEEB method - QH7 L
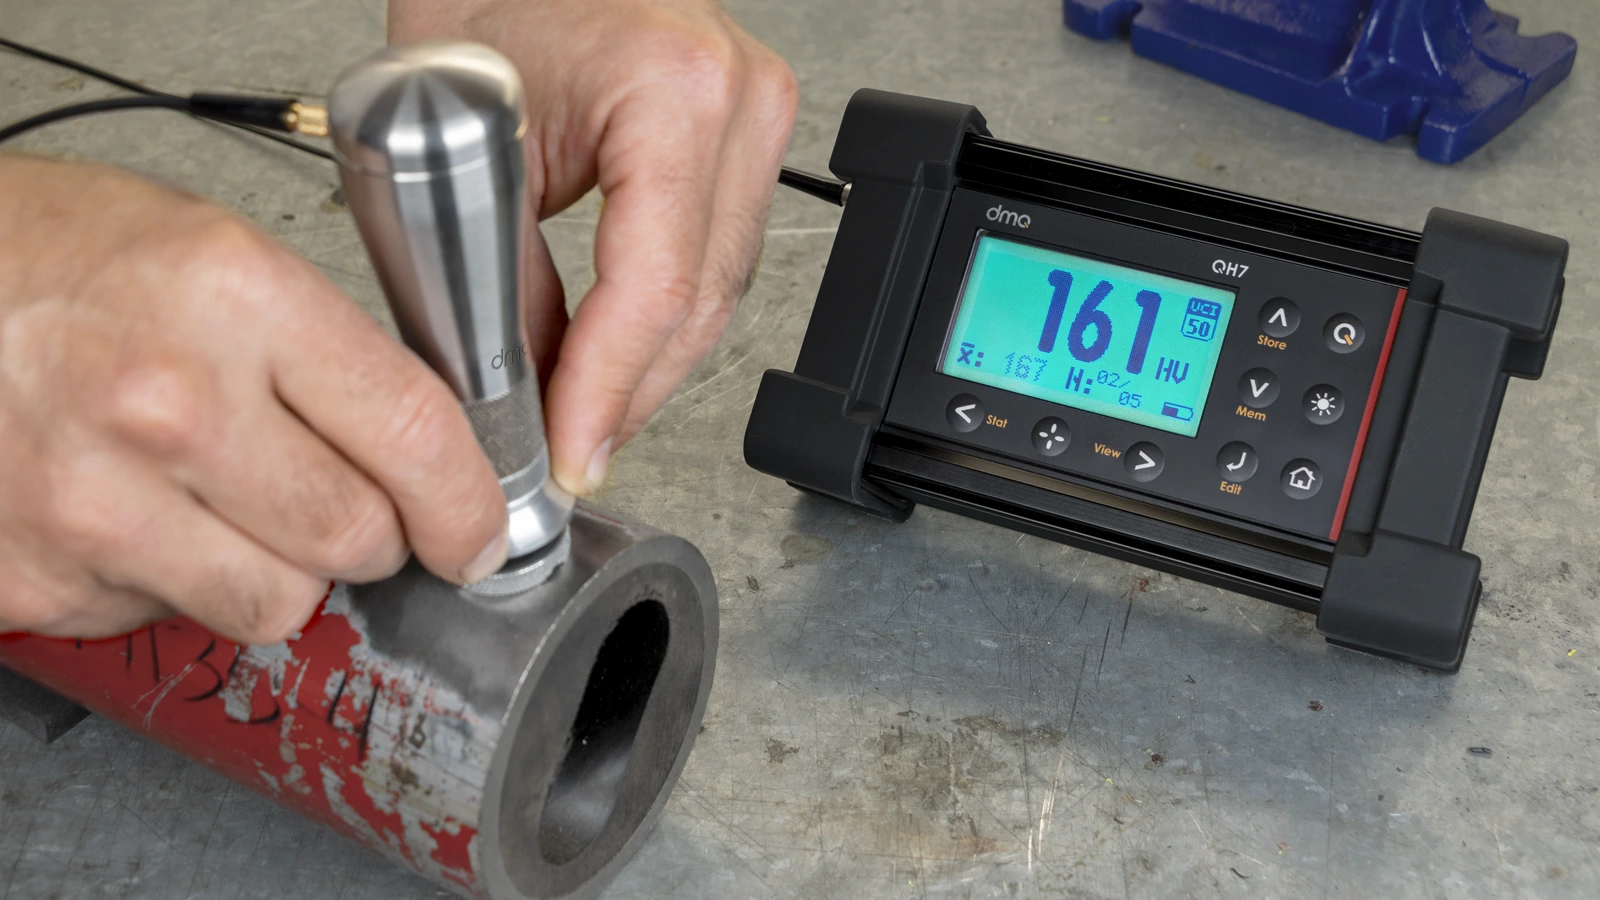
Hardness measurement with the UCI method - QH7 U
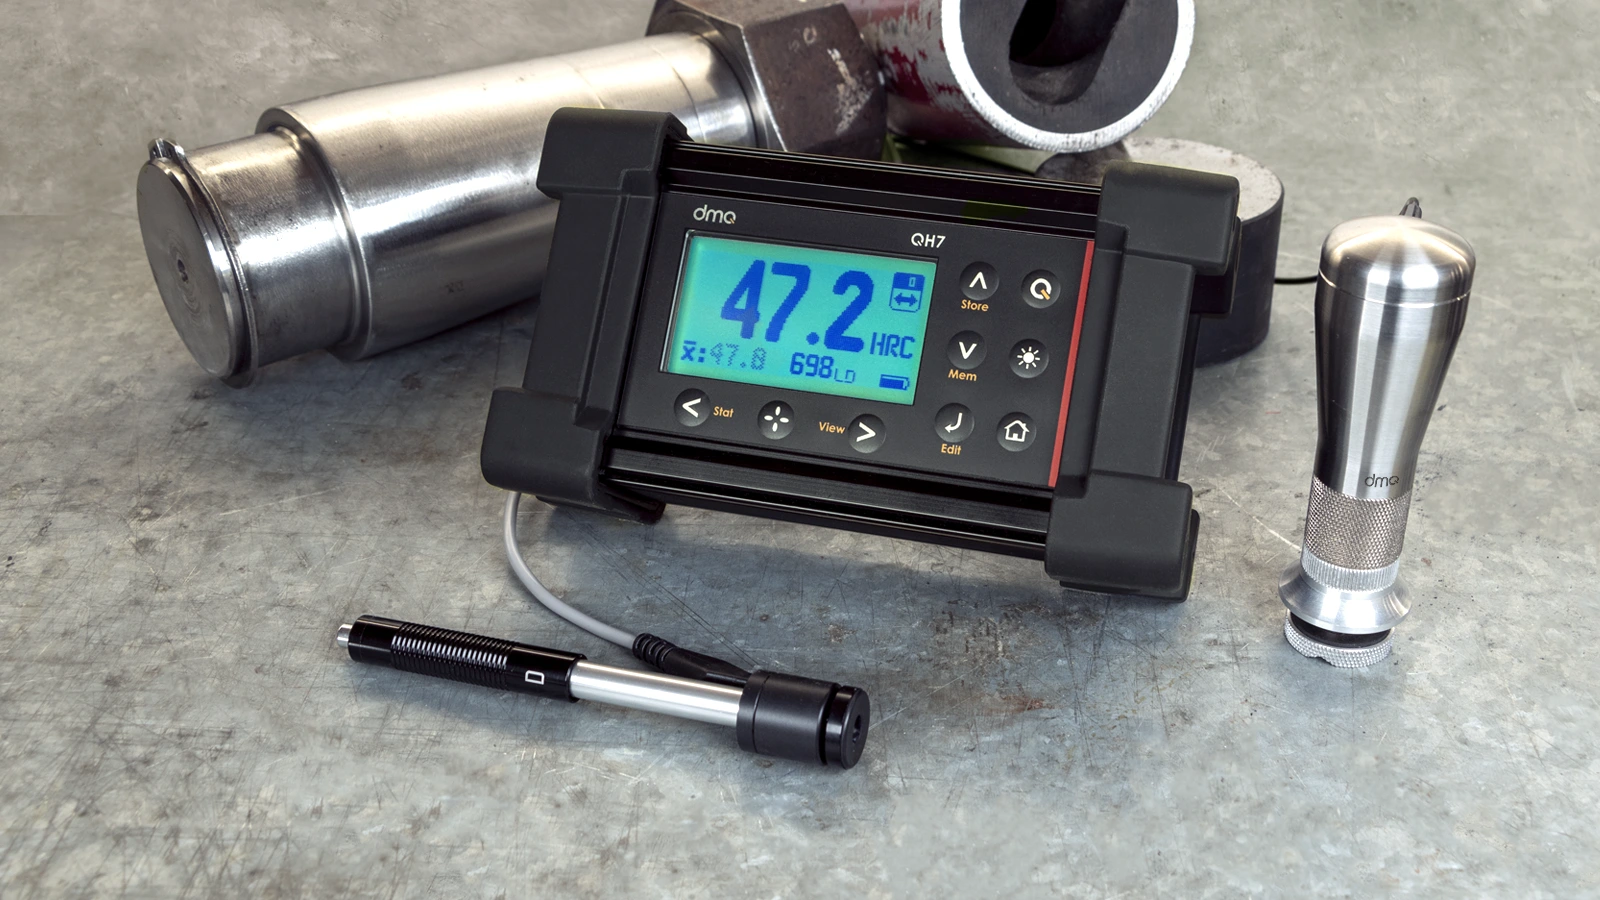
Hardness measurements with both LEEB and UCI - QH7 C
What's inside the QH7 C
What's inside the QH7 L
What's inside the QH7 U
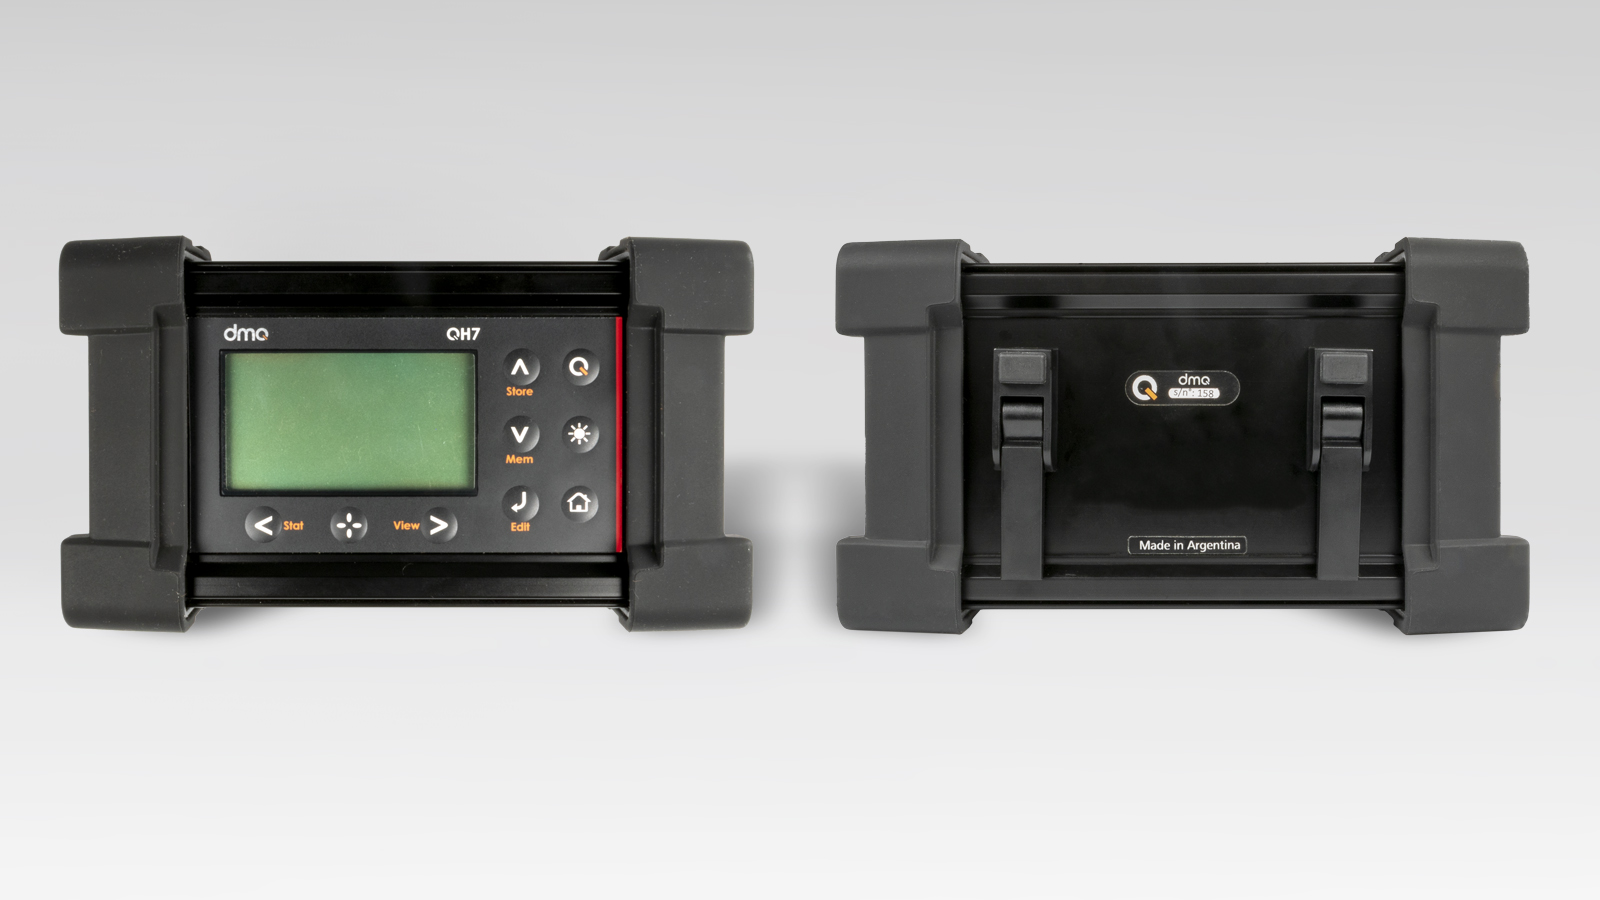
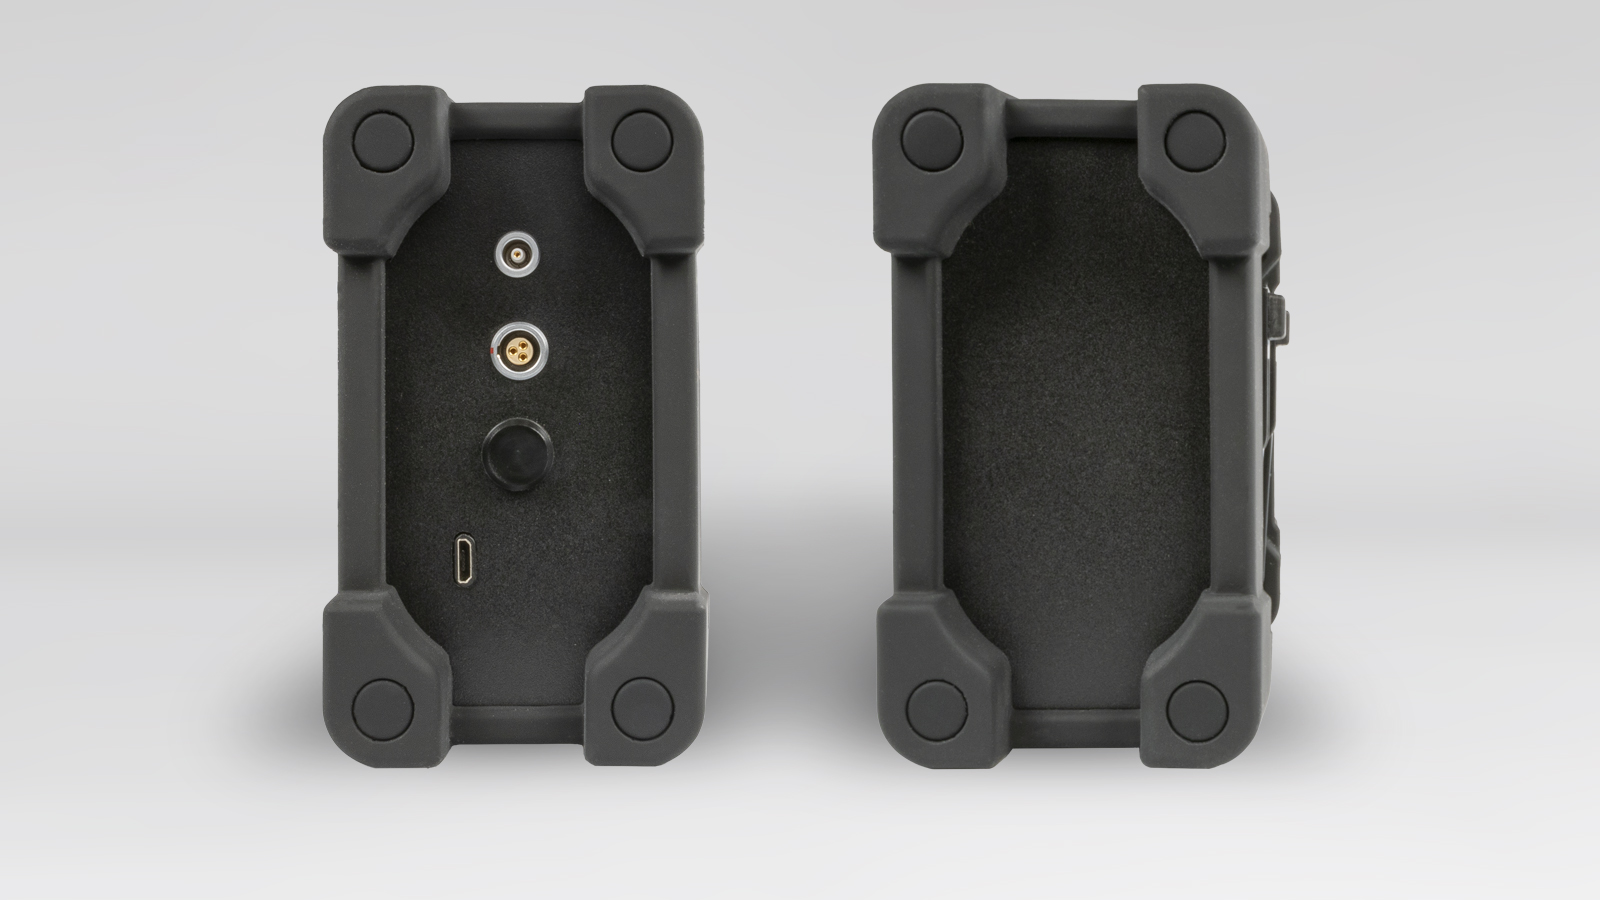
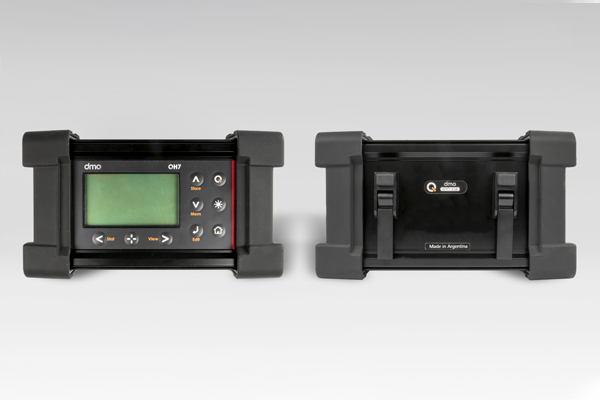
QH7 electronic unit - Front and Back
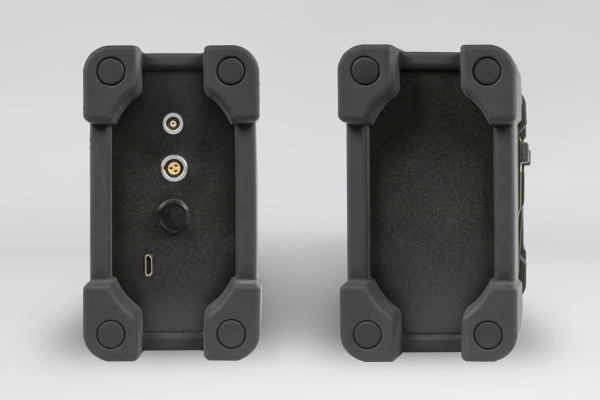
QH7 electronic unit - Sides and connectors detail
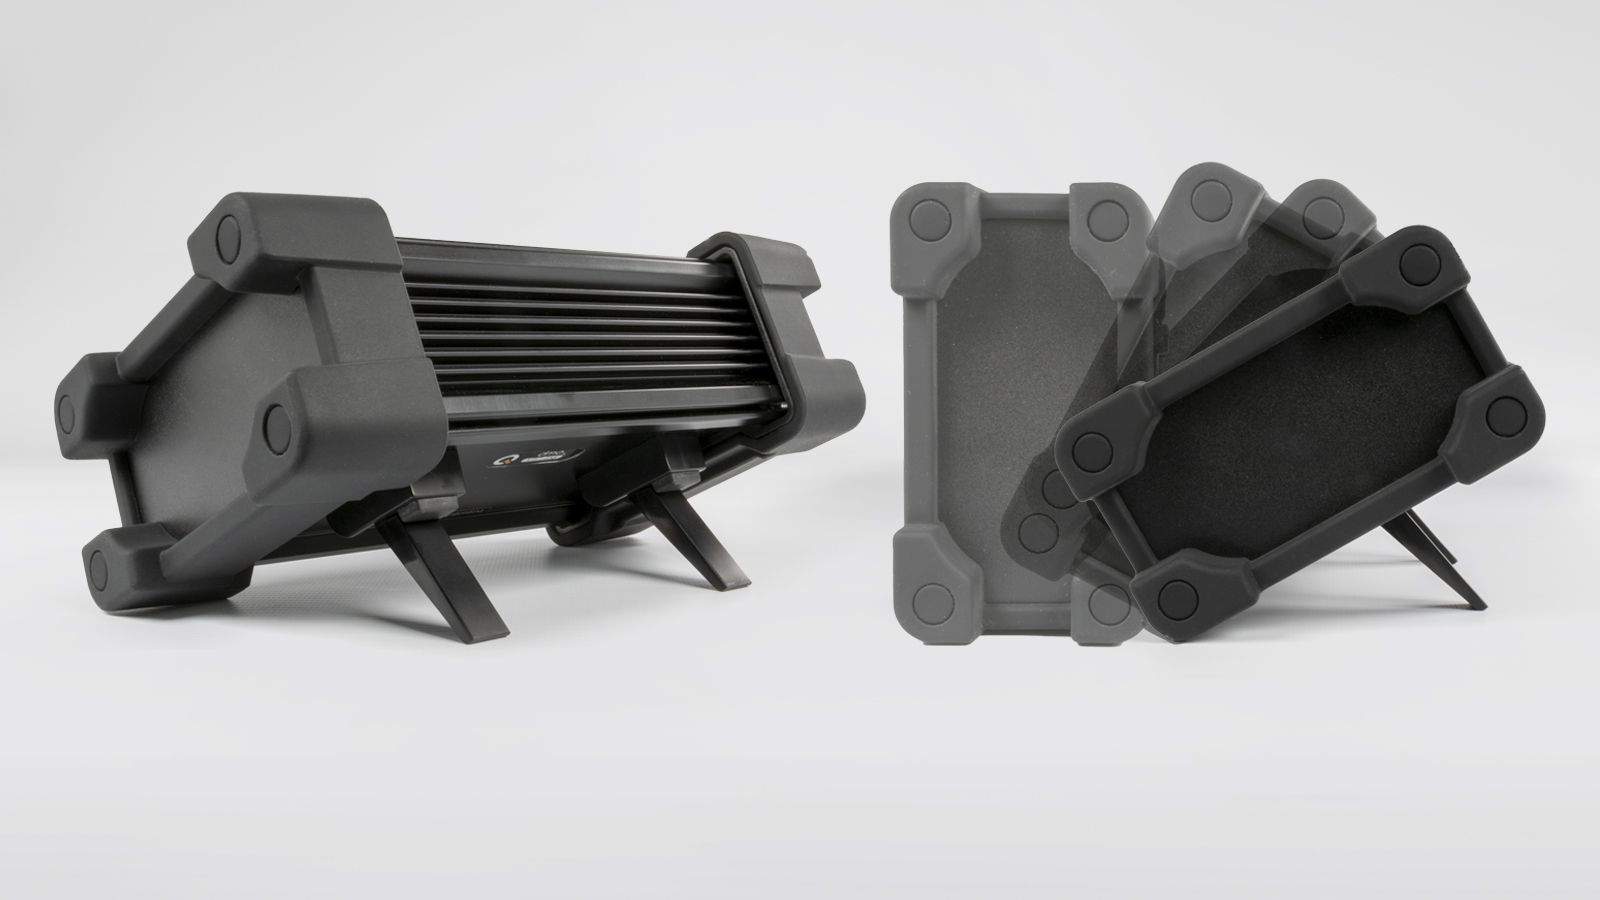
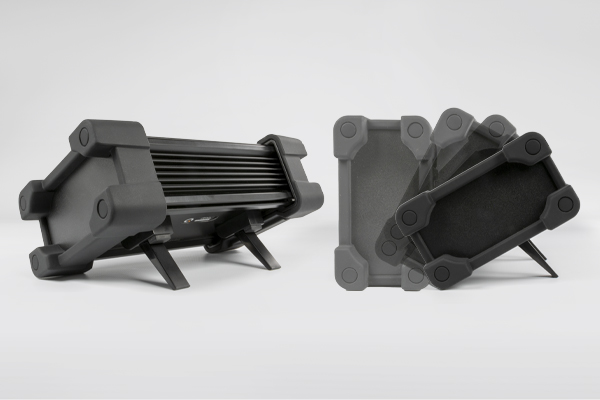
QH7 electronic unit - Tilt Feet
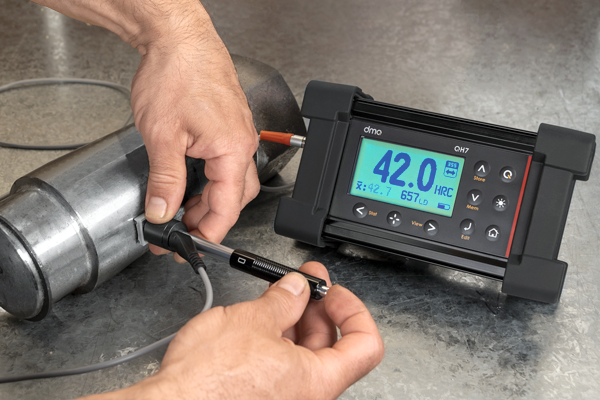
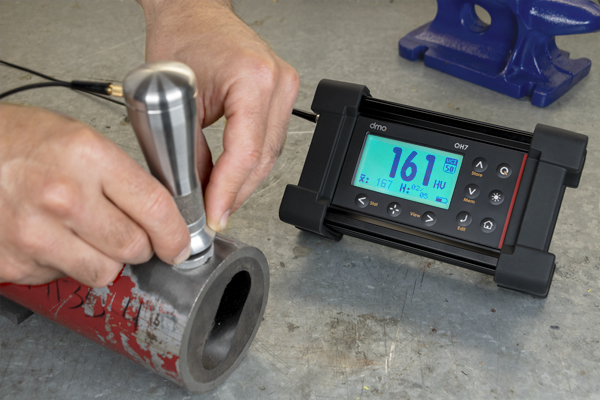
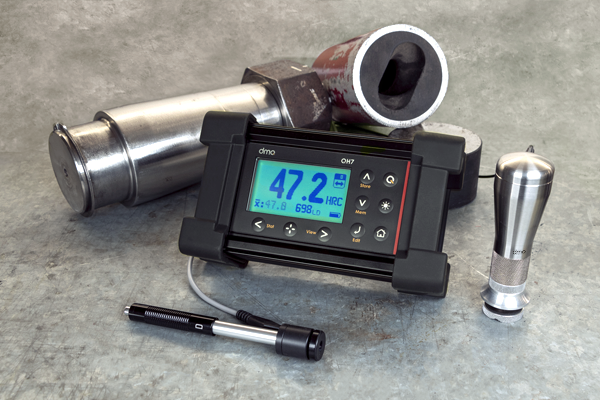
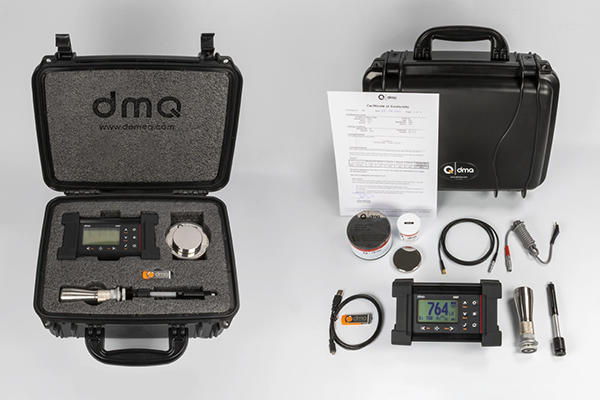
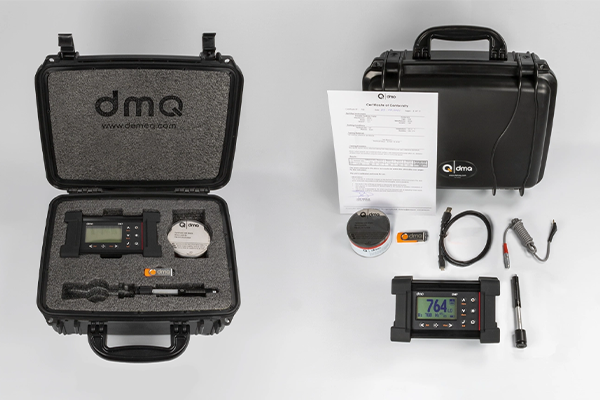
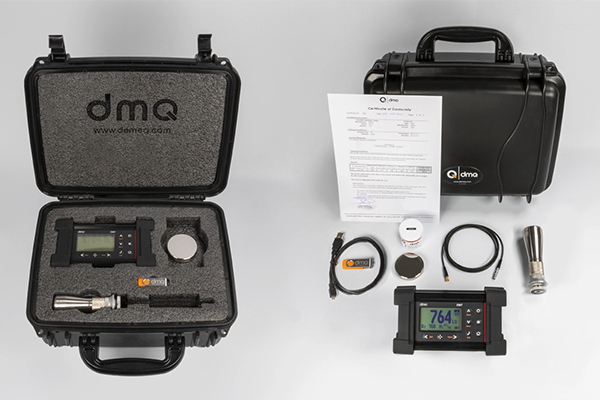
You can find more videos in our YouTube channel.
Go YoutubeAccessories and Consumables

QHS102
Type D impact device
General use impact device that offers the widest ranges in all hardness units and available materials.
Impact energy: 11Nmm
Length: 147mm / 5.78in
Weight: 75g / 2.64oz

QHS202
Type DC impact device
Type D impact device with a short body that is ideal for measurements in reduced spaces.
Impact energy: 11Nmm
Length: 86mm / 3.38in
Weight: 50g / 1.76oz

QHS302
Type DL impact device
Features a 50mm long tip and 4mm diameter making it ideal to measure in hard to reach places such as grooves and gears.
Impact energy: 11Nmm
Length: 202mm / 7.95in
Weight: 100g / 3.52oz

QHS502
Type C impact device
A low impact energy that also produces a smaller indentation makes this impact device ideal for superficial heat treatment and small part measurements.
Impact energy: 3Nmm
Length: 141mm / 5.55in
Weight: 75g / 2.64oz

QHS602
Type G impact device
A greater impact energy allows measurements on rough surfaces with little preparation. Recommended for large, founded and forged parts.
Impact energy: 90Nmm
Length: 254mm / 10in
Weight: 250g / 8.81oz

QHS702
Type E impact device
Uses a synthetic diamond ball allowing high hardness measurements (up to 1200 HV). This is the best option to measure hardened steel or parts with similar treatments.
Impact energy: 11Nmm
Length: 155mm / 6.10in
Weight: 80g / 2.82oz

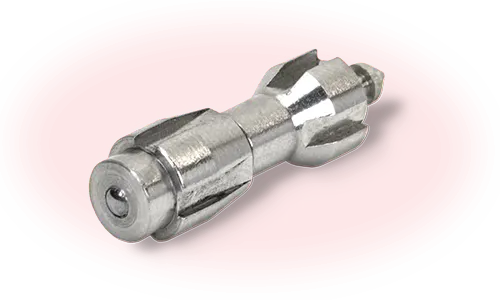
QHS110
10N UCI Probe
Ideal to measure superficial hardness, polished surfaces and small parts with a good finish.
Superficial roughness: Maximum roughness is Ra 5µm according to ASTM 1038 standard

QHS150
50N UCI probe
Measure induction or cemented treated parts such as crankshafts, gears, welds and heat affected zones.
Superficial roughness: Maximum roughness is Ra 10µm according to ASTM 1038 standard

QHS198
98N UCI probe
Recommended for use in founded parts, weld seams and heat affected zones even in unmachined surfaces.
Superficial roughness: Maximum roughness is Ra 15µm according to ASTM 1038 standard
QHX102
Impact Body
Consult for impact device model.
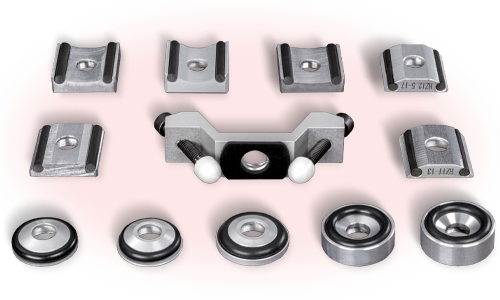
QHA012
Set of 12 support rings to measure concave and convex surfaces
Compatible with type D, DC, C and E impact devices.
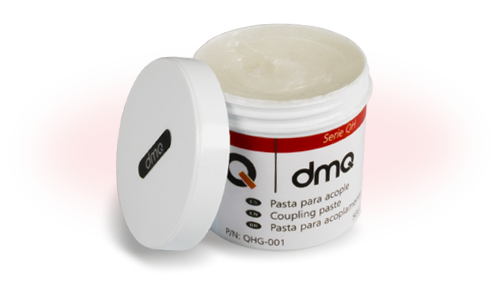
QHG005
Coupling paste 50cc / 1,76oz
Coupling paste for use with lightweight parts.
Calibration and Traceability certificates available for reference test blocks. See Certifications section.
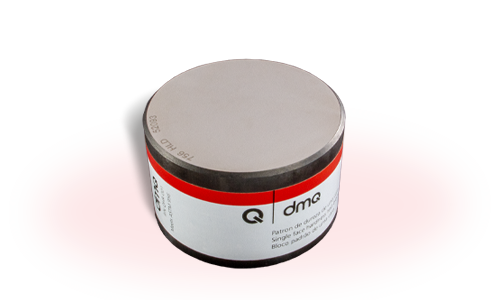
HLD reference test block
Type Leeb reference test block
Diameter: 90mm
Height: 56mm
Weight: 2.9kg
Hardness: 740 a 790HLD ±6HLD
- QHR101: For D, DC impact devices
- QHR102: For DL impact device
- QHR103: For C impact device
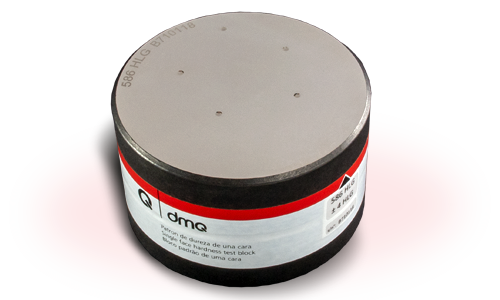
HLG reference test block
Type Leeb reference test block
Diameter: 150mm
Height: 90mm
Weight: 5.8kg
Hardness: 460 a 550HLG ±12HLG
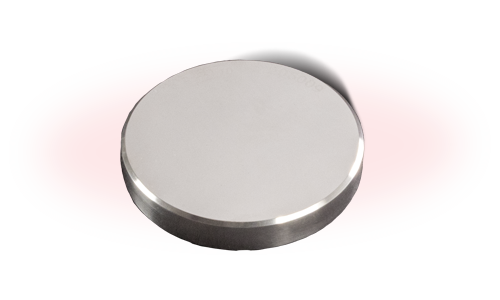
HB, HRB, HRC and HV reference test blocks
- QHR201: Rockwell C (HRC) reference test block
- QHR301: Rockwell B (HRB) reference test block
- QHR401: Brinell (HB) reference test block
- QHR501: Vickers (HV) reference test block
Inquire.
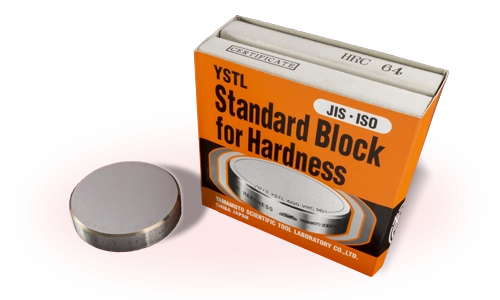
YAMAMOTO brand test blocks
- YHR201: Rockwell C test blocks (HRC)
- YHR301: Rockwell B test blocks (HRB)
- YHR401: Brinell test blocks (HB)
- YHR501: Vickers HV10 test blocks (HV)
Inquire.
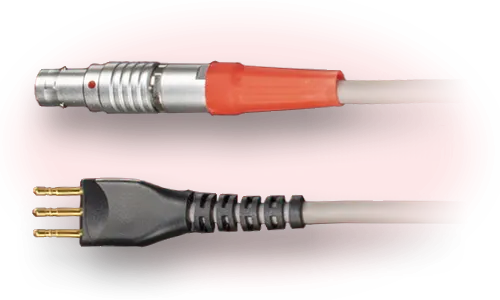
QHC101
Cable with connector for all dmq impact devices
Compatible with all dmq impact devices and instruments.
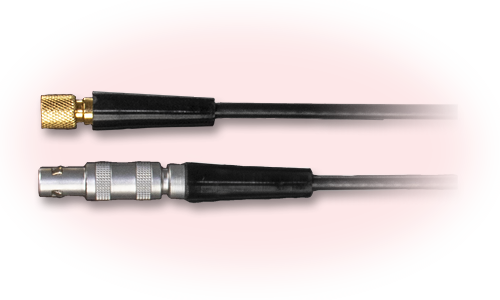
QHC105
Cable with connector for all dmq UCI probes
Cable with a Lemo 0B and a Microdot connector.
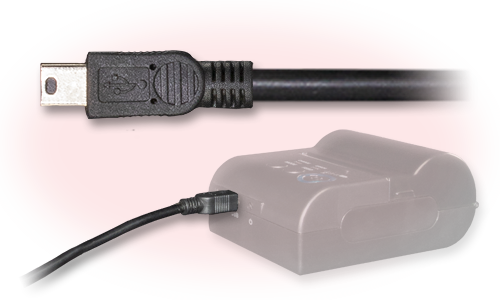
QAC001
Cable to connect a thermal printer to dmq instruments
Adapting cable with mini USB to mini USB connectors.
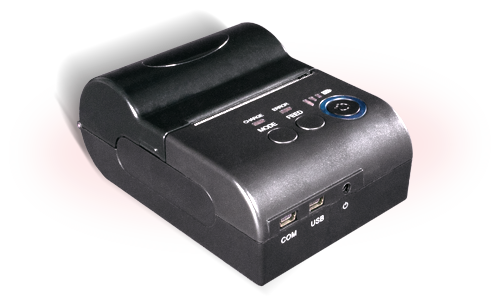
QAI001
Thermal printer for dmq instruments 7
Speed: 90mm/s
Resolution: 203dpi
Weight: 134g
Dimensions: 105 x 75 x 45mm
7. Does not include connecting cable
Certificates and International Standards
Included certificate

Certificate of Conformity
This certificate accompanies all DMQ equipment, they are made based on secondary reference test blocks, procedures and internal DMQ standards.
- QHF310: Certificate of Conformity for QH electronic unit with LEEB method on HLD test block
- QHF311: Certificate of Conformity for Electronic Unit with UCI method on Vickers test block
- QHF312: Certificate of Conformity for Electronic Unit with LEEB method + UCI method on HLD and Vicker test blocks
Optional certificates
Optionally, we offer Calibration certificates and Certificates with traceability for reference test blocks:

Calibration Certificate
Certificate issued by an external laboratory accredited by INTI-SAC, expressing the results of the calibration of the instruments or reference test blocks according to ISO/IEC 17025.
Check validity of the certifying organization in your region.
- QHF120: INTI-SAC Calibration Certificate under ISO/IEC 17025 IRAM 301 standard for HLD reference test block in HRC-HB or HV scale
- QHF121: INTI-SAC Calibration Certificate under ISO/IEC 17025 IRAM 301 standard for HV scale Vickers reference test block

Certificate with INTI-SAC Traceability
Additional certificate based on instruments or reference test blocks certified by INTI-SAC laboratory, a copy of the traceability certificates is attached to the traceability certificate.
Check validity of the certifying organization in your region.
- QHF220: Certificate with INTI-SAC Traceability for HLD reference test block on HRC scale
- QHF222: Certificate with INTI-SAC Traceability for Vickers reference test block on HV scale
International Standards

CE Marking

ASTM A956
Models: QH7 L, QH7 C
ASTM A1038 / ASTM E140
Models: QH7 U, QH7 C
I am Quokke, the  mascot.
Choose us and be as happy as I am!
See products
QH7 Series
Portable "Heavy-Duty" Hardness Tester Leeb + UCI
Contact Us
Request Quotation